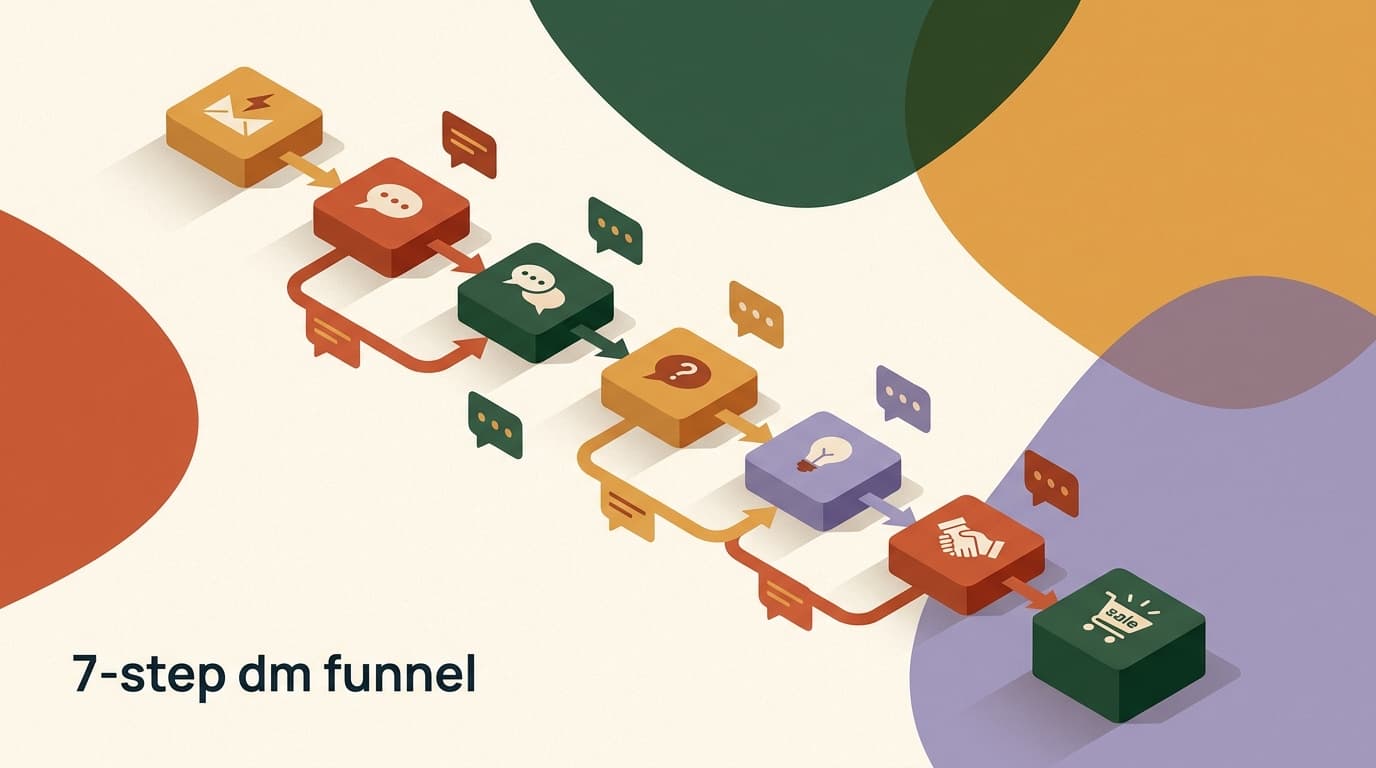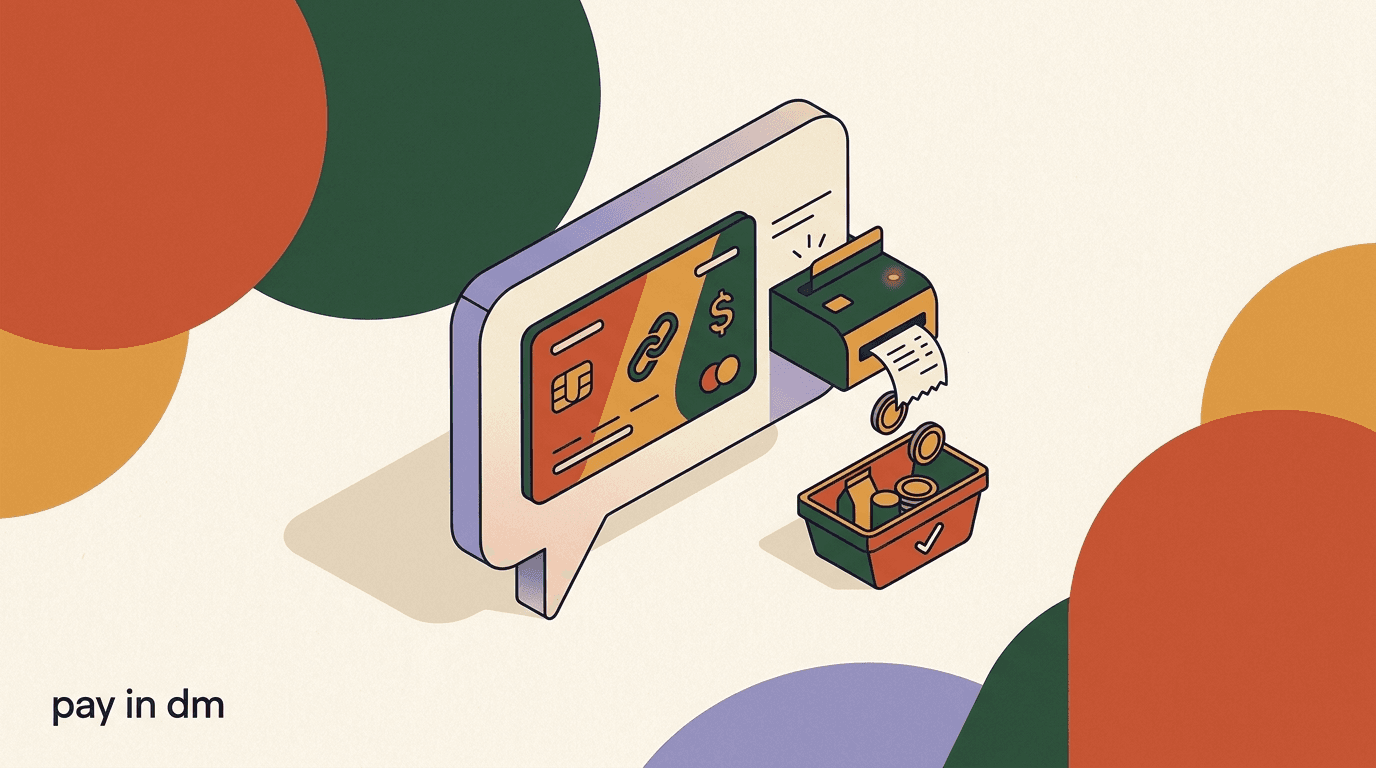
Stripe DM payment integration is the practical way to take payments in a DM without forcing buyers to leave the conversation, hunt for a website, or fill out a long form. The pattern is simple: at the moment someone says they want to buy, your flow sends a Stripe payment link or checkout URL, the customer pays on Stripe's own secure page, and a webhook tells your automation the moment the payment clears so it can deliver the product and follow up. Done well, the buyer experiences one smooth thread; under the hood you are handing the money step to Stripe and reacting to the result.
This guide is deliberately step-heavy. We walk through generating the link, placing it at the right point in the flow, confirming payment with a webhook, and handling the follow-up — plus the failure cases that trip people up. We will be honest about one thing throughout: a chat tool like KlyoChat does not process cards itself. It hands off to Stripe and reacts to Stripe's events. That distinction matters for security, for compliance, and for how you build the flow, so we keep it front and center.
Full disclosure: we build KlyoChat, an AI-native inbox with no-code flows and, on the Business plan, a public API and webhooks. So we have a point of view on how this should work. But the technique below is vendor-neutral — the same payment-link-plus-webhook pattern works with almost any chat automation tool. Where Stripe's own behavior, fees, or settings matter, we point you to Stripe's documentation rather than paraphrasing it, because payment platforms change their details and you should build against the current source.
What does it actually mean to take payments in a DM?
When people say they want to take payments in a DM, they usually picture something that does not exist on most platforms: a card form rendered inside Instagram or WhatsApp. That is not how it works, and it is not how it should work. Card data is sensitive, and handling it directly drags you into a much heavier compliance burden. The realistic and safe pattern is a handoff.
In a handoff model, the conversation stays in the DM, but the moment of payment happens on a page Stripe controls. Your flow sends a link; the customer taps it; Stripe shows a checkout that is already PCI-compliant, supports the customer's preferred payment methods, and handles fraud screening. When the customer pays, Stripe records the event and — if you have wired it up — sends a webhook to your system so the flow can continue. The buyer barely notices the seam. To them it feels like paying in the chat.
This is worth internalizing before you build anything, because it shapes every decision that follows. You are not building a payment processor. You are building a conversation that knows when to hand off to Stripe and what to do when Stripe reports back. The skill is in the timing and the follow-up, not in the money movement itself.
The chat tool does not touch the card
KlyoChat, and chat automation tools generally, do not process card payments natively. The flow sends a Stripe payment link or checkout URL, Stripe takes the payment on its own secure page, and your flow reacts to Stripe's webhook events. If a tool claims to take cards inside the DM itself, ask exactly where the card data goes — the honest answer is almost always 'to a processor like Stripe.'
Why use a Stripe payment link instead of a website checkout?
You might already have a perfectly good checkout on your website. So why send a Stripe payment link from a DM at all? The answer is friction and context. A buyer who is mid-conversation, already interested, and holding their phone is at the highest-intent moment they will ever be in. Sending them to a homepage to navigate to a product to add to a cart to find the checkout is a series of chances to lose them. A single link that opens straight to a pre-filled checkout removes almost all of that.
There is also the matter of attribution and continuity. When the payment happens via a link your flow generated, your flow knows which customer it belongs to, which product they bought, and what to do next. A generic website checkout does not feed back into the conversation. The DM goes quiet, the customer wonders if it worked, and you lose the chance to upsell, deliver instantly, or ask for a review while goodwill is high.
Stripe gives you two main tools for this, and the right choice depends on how dynamic your catalog is.
- Payment Links are the fastest start — make one per product and reuse the URL in your flow.
- Checkout Sessions are the flexible choice when amount or contents vary per buyer.
- Invoices suit B2B or high-ticket sales where a paper trail is expected.
- All three keep the actual payment on Stripe's hosted, PCI-compliant pages.
| Option | Best for | How the link is created |
|---|---|---|
| Stripe Payment Links | Fixed products or a small catalog you set up once | Created in the Stripe Dashboard or API; reusable URL per product |
| Stripe Checkout (Sessions) | Dynamic pricing, carts, or per-customer amounts | Created on the fly via the Stripe API per purchase |
| Invoices | Higher-ticket or B2B where a formal invoice is expected | Created via API or Dashboard; hosted invoice URL sent to buyer |
What do you need before you start?
Before you place a single block in a flow, get the prerequisites in order. Skipping this is the most common reason a DM payment build stalls halfway. None of it is hard, but each piece has to exist before the next step makes sense.
- An active Stripe accountSign up at stripe.com and complete the business verification Stripe requires to accept live payments. Until you are verified, you can still build and test in test mode.
- At least one product and price in StripeCreate the product and price in the Stripe Dashboard so you have something to attach a Payment Link to, or so your API call has a price ID to reference.
- A chat automation tool with a flow builderYou need somewhere to place the link at the right step and, ideally, to react to webhooks. KlyoChat's no-code flows handle the link placement; webhook reactions need the Business plan.
- A way to receive Stripe webhooks (for confirmation)To confirm payment automatically you need an endpoint Stripe can call. This is where the API/webhooks capability matters — on KlyoChat that is the Business plan.
- Decision: link type and what happens after paymentDecide whether you are using a reusable Payment Link or a per-purchase Checkout Session, and write down exactly what the flow should do once payment succeeds.
Build everything in Stripe test mode first
Stripe gives you a full test mode with test card numbers that never charge real money. Build and run your entire DM flow end to end in test mode — link, payment, webhook, follow-up — before you flip to live keys. Stripe's testing docs list the test cards for success, decline, and authentication scenarios.
How do you generate a Stripe payment link?
There are two routes to a link, and they map to the two options above. For a fixed catalog, create reusable Payment Links once. For dynamic amounts, create a Checkout Session per purchase via the API. We will cover both, starting with the simpler one.
For reusable Payment Links, you do not need to write any code. In the Stripe Dashboard you create a link tied to a product and price, configure what you want to collect, and Stripe gives you a URL you can paste anywhere — including a DM flow block.
- Open Payment Links in the Stripe DashboardGo to the Payment Links section, choose New, and select the product and price you created earlier.
- Configure collection and confirmationDecide whether to collect shipping or phone, set quantity rules, and set the after-payment behavior — a confirmation page or a redirect back to a URL you control.
- Copy the generated URLStripe produces a stable link. This single URL is what your flow will send. Test it by opening it yourself in test mode.
- For dynamic amounts, switch to Checkout SessionsIf price varies per buyer, call Stripe's Checkout Session API at the moment of purchase to mint a one-time URL, then send that URL into the conversation. This requires your tool's API capability.
Follow Stripe's own setup docs for the exact clicks
Stripe's Dashboard and API evolve, and the precise field names or steps can shift between versions. Use this guide for the shape of the integration, but always confirm the current Payment Links and Checkout setup in Stripe's official documentation before you go live.
Reusable link vs per-purchase session
- Payment Link (fixed)
- One URL for 'Starter Pack — $29', reused for every buyer who wants it
- Checkout Session (dynamic)
- A fresh URL minted per order when the cart total is $74.50 for this specific customer
Where in the DM flow should the payment link go?
Placement is where most of the conversion is won or lost. Drop the link too early and you ask for money before the buyer is convinced. Drop it too late and you have let the high-intent moment cool. The right spot is the instant the customer has expressed clear buying intent and you have answered their last real objection.
Think of the flow as having three phases: qualify, confirm, and pay. In qualify, you learn what they want. In confirm, you restate exactly what they are buying and for how much, so there are no surprises on the Stripe page. Only then, in pay, do you send the link. This sequencing also reduces refund requests, because the buyer has explicitly agreed to the price before they ever see the checkout.
A concrete trigger works better than a vague one. 'Reply YES to get the checkout link' or a button labeled 'Pay now — $29' gives the customer an unambiguous action and gives your flow a clean branch to send the link on.
- Qualify the buyerUse a question or two to confirm they want the specific product. An AI agent or a simple branch can do this. Capture the choice so you can send the right link.
- Confirm the item and the exact priceRestate what they are buying and the total before you send anything. This prevents checkout-page surprise and the abandonment that follows.
- Send the payment link on explicit intentTrigger the link block when they tap a 'Pay now' button or reply with your keyword. Send the link with one short line of context, not a wall of text.
- Set the waiting stateAfter sending, move the flow into a state that waits for the webhook. Do not assume payment — wait for Stripe to confirm it before you deliver anything.
Two-line payment message that converts
- Context line
- Great — that's the Starter Pack for $29. Here's your secure Stripe checkout:
- Link line
- [Stripe link] — pay in under a minute, then I'll send your access right here.
How do you confirm the payment actually went through?
This is the step that separates a real integration from a hopeful one. Never treat sending the link as the end of the job. The link being clicked tells you nothing about whether money moved — the customer might abandon, the card might decline, or a 3D Secure challenge might fail. The only reliable signal that payment succeeded is a webhook from Stripe.
A webhook is a message Stripe sends to a URL you own the instant an event happens. For a completed checkout, the key event is checkout.session.completed (for Checkout Sessions) or the relevant payment event for your setup. Your endpoint receives that event, verifies it is genuinely from Stripe using the signing secret, and then tells your flow to continue — deliver the product, tag the contact as a buyer, and start the follow-up.
This is exactly where the handoff model shows its seams in a good way. KlyoChat does not know a payment happened until Stripe says so. On the Business plan, KlyoChat's webhooks let an incoming Stripe event drive the next step of the flow. Without that webhook link, you would be reduced to manually checking Stripe and messaging buyers by hand — workable for a handful of sales, unworkable at volume.
- Create a webhook endpointStand up a URL that can receive Stripe's POST requests. This is the address you give Stripe in the Dashboard's Webhooks section.
- Subscribe to the right eventsSubscribe to the payment-success event for your model — commonly checkout.session.completed. Avoid subscribing to events you do not act on.
- Verify the Stripe signatureUse the signing secret Stripe gives you to verify every incoming event is genuinely from Stripe and was not tampered with. Reject anything that fails verification.
- Match the event to the customerUse metadata you attached when creating the link or session to map the payment back to the right contact and conversation in your chat tool.
- Trigger the next flow stepOn a verified success event, advance the flow: deliver the product, tag the buyer, and kick off the thank-you and follow-up sequence.
Do not deliver on link-click — deliver on webhook
Treating a clicked link, a redirect, or a 'thanks' page as proof of payment is the classic mistake. Redirects can be reached without paying, and clicks happen before money moves. Only a verified server-side webhook event confirms the charge. Build your delivery to fire on the webhook and nothing else.
How do you attach context so the webhook knows who paid?
A webhook arriving with 'someone paid $29' is useless if you cannot tell who. The fix is metadata. When you create a Payment Link or Checkout Session, Stripe lets you attach key-value metadata — for example the contact ID, the channel, and the product. That metadata rides along on the event Stripe sends back, so your webhook handler can map the payment to the exact conversation.
This is the glue that keeps the DM feeling continuous. Without it, even a perfectly verified webhook leaves you guessing which Instagram or WhatsApp thread to reply in. With it, the moment payment clears, your flow knows to deliver in that specific thread, tag that specific contact, and skip anyone who did not pay.
| Metadata key | Example value | Why it matters |
|---|---|---|
| contact_id | klyo_8842 | Maps the payment back to the exact conversation to reply in |
| channel | Tells the flow which platform thread to deliver and follow up on | |
| product | starter-pack | Lets the flow deliver the right asset and trigger the right upsell |
Set metadata at link creation, read it at webhook time
Attach contact and product metadata when you generate the link or session, then read it back from the event in your webhook handler. It is the cleanest way to keep a DM payment tied to a single buyer without fragile guesswork.
What should happen right after a successful payment?
The seconds after a payment clears are the warmest moment in the whole relationship. The buyer just trusted you with money; reward that immediately. A flow that goes silent after payment creates doubt and support tickets. A flow that responds instantly feels professional and earns the next sale.
There are three jobs to do, in order: confirm, deliver, and continue. Confirm so the buyer knows it worked. Deliver the thing they paid for, or set a clear expectation for when it arrives. Continue the relationship with a next step — onboarding, an upsell, or a request for a review while satisfaction is peaking.
- Confirm instantly: a short message acknowledging the payment in the same thread.
- Deliver the goods: the digital product, access link, booking confirmation, or a clear shipping timeline.
- Tag the contact as a buyer so future broadcasts and segments treat them correctly.
- Trigger follow-up: an onboarding sequence, an upsell offer, or a review request timed a few days out.
Post-payment sequence for a digital product
- 0 seconds
- Payment confirmed — message and delivery link sent in-thread
- 10 minutes
- Getting-started tip to drive first use
- 3 days
- Check-in plus a relevant upsell
- 7 days
- Review or testimonial request while goodwill is high
What about failed, abandoned, or disputed payments?
Happy-path flows are easy to imagine and dangerous to ship alone. Real selling means handling the cases where money does not move cleanly. Plan for three: the customer never completes checkout, the payment fails outright, and the rare dispute or refund. Each has a different right response, and each can be partly automated.
Abandonment is the most common and the most recoverable. Someone opened the link, hesitated, and closed it. Because your flow is in a waiting state and no success webhook arrived, you can detect that no payment landed within a window and send a gentle nudge — not a guilt trip, just a reminder and an offer to answer questions. Many sales close on that second touch.
Outright failures — declines, expired cards, failed authentication — are handled mostly on Stripe's side; Stripe shows the customer an error and often lets them retry with another method. Your flow's job is to not deliver and to remain ready if they come back and complete payment. Disputes and refunds are lower-volume but higher-stakes; handle those through Stripe's tools and a human, and have your flow react to refund events by revoking access or tagging the contact if appropriate.
| Scenario | What the flow should do | Automate or human? |
|---|---|---|
| Link sent, no payment yet | Wait, then send one gentle reminder after a set delay | Automate |
| Payment failed / card declined | Do not deliver; let Stripe prompt a retry; stay ready | Automate (delivery held) |
| Refund or dispute | React to the event; revoke access or tag; involve a person | Human-assisted |
One reminder, not five
An abandoned-checkout nudge recovers sales; a barrage of them gets you muted or reported, especially on platforms with strict messaging rules. Send a single, friendly reminder after a sensible delay, then stop and let the buyer come to you.
How do you handle the payment link safely?
A payment link is a sensitive asset, and a DM is a semi-public channel. Treating links carelessly invites fraud, refunds, and platform trouble. None of this is exotic — it is basic hygiene — but it is the part people skip because the happy path works without it.
The core principles: keep secrets secret, generate per-purchase links where amounts vary, never trust the client, and lean on Stripe's hosted pages rather than rolling your own. Your API keys and webhook signing secret are the crown jewels. If a secret key leaks, someone can create charges and refunds in your name; if your signing secret leaks, someone could forge webhook events to trick your flow into delivering for free.
- Keep Stripe secret keys and webhook signing secrets server-side only — never in a message, a public flow export, or client code.
- Verify every webhook's Stripe signature before acting on it; reject anything unverified.
- For dynamic amounts, mint a fresh Checkout Session per purchase rather than reusing one link, so a stale URL cannot be replayed.
- Use Stripe's hosted checkout so card data never touches your systems or the chat tool.
- Rotate keys if you suspect exposure, and use restricted API keys scoped to only what the integration needs.
Treat keys and signing secrets like passwords
Your Stripe secret key and webhook signing secret must live only on your server or your tool's secure backend — never pasted into a DM, a shared flow template, or a screenshot. Verify webhook signatures on every event so a forged request cannot trigger free delivery. If a secret is ever exposed, roll it in the Stripe Dashboard immediately. When in doubt, follow Stripe's own security best-practices documentation rather than improvising.
What does a complete DM payment flow look like end to end?
Pulling the pieces together, here is the full shape of a working Stripe DM payment integration. Reading it as one sequence makes the handoff obvious: the chat tool runs the conversation, Stripe runs the money, and a webhook stitches the two halves back together.
Walk through it once on paper before you build, then build it in test mode, then go live. The order is deliberate — each step depends on the one before it.
- Trigger and qualifyThe buyer enters the flow from a comment-to-DM, an ad, or a keyword. The flow confirms which product they want and captures it.
- Confirm price, then send the Stripe linkRestate the item and total, then send the Payment Link or a freshly minted Checkout Session URL with metadata identifying the contact and product.
- Customer pays on StripeStripe's hosted checkout collects payment securely, handling cards, wallets, fraud checks, and any authentication. The chat tool never sees the card.
- Stripe fires the webhookOn success, Stripe sends checkout.session.completed to your endpoint. You verify the signature and read the metadata to find the buyer.
- Flow resumes and deliversThe verified event advances the flow: confirm in-thread, deliver the product, tag the buyer, and start follow-up. Abandoners get one reminder; failures are held.
Who does what in the handoff
- Chat tool (KlyoChat)
- Conversation, link delivery, post-payment follow-up
- Stripe
- Hosted checkout, card processing, fraud, the success event
- Webhook
- The bridge that tells the flow payment cleared
How does this work in KlyoChat specifically?
We will be precise about what KlyoChat does and does not do here, because honesty is the whole point of a payments guide. KlyoChat is an AI-native unified inbox with no-code flows across Facebook, Instagram, Telegram, WhatsApp, TikTok, and X. It is excellent at the conversation half of this pattern: qualifying buyers, sending the link at the right step, tagging contacts, and running the follow-up across every channel from one place.
What KlyoChat does not do is process payments. There is no native card handling, and there should not be — that is Stripe's job and Stripe does it under PCI compliance. KlyoChat's role is the handoff: place the Stripe link in the flow, then react to Stripe's webhook to continue. The reacting part — receiving and acting on the Stripe event — uses KlyoChat's public API and webhooks, which are on the Business plan ($129/mo). On lower plans you can still send a Stripe link from a flow; what you gain on Business is the automated confirmation loop that makes the whole thing hands-off.
Two more honest limits worth stating: KlyoChat has no native SMS or email, so payment confirmations and follow-ups happen in the chat channels, not over text or inbox. And KlyoChat is a newer, smaller-community product than the largest incumbents, so you will lean on documentation and support more than on a vast template marketplace. For commerce specifically, KlyoChat also offers Shopify and WooCommerce integrations on the Business plan, which can complement or replace a raw Stripe link depending on where your catalog lives.
- KlyoChat runs the conversation and follow-up; Stripe runs the payment — a clean handoff.
- Automated confirmation needs webhooks, which are on the Business plan.
- Every plan includes a 7-day free trial with no credit card, so you can build the flow before committing.
- Honest limits: no native card processing, no native SMS/email, smaller community than incumbents.
| Capability | KlyoChat plan | Notes |
|---|---|---|
| Send a Stripe link in a flow | Any plan with flows | Drop the Payment Link URL into a flow message block |
| React to Stripe webhooks | Business ($129/mo) | Public API and webhooks confirm payment and resume the flow |
| Shopify / WooCommerce integration | Business ($129/mo) | Alternative to raw links when your catalog lives in a store |
Pricing, briefly and honestly
KlyoChat plans are Basic $19, Pro $49 ($39 billed yearly), and Business $129. The Business plan is the one with the API and webhooks you need for automated Stripe payment confirmation. Stripe charges its own per-transaction fees on top — check Stripe's pricing page for the current rates, as those are set by Stripe, not us.
When should you not use a DM payment link?
A DM payment link is a sharp tool, not a universal one. There are situations where it is the wrong call, and naming them keeps you out of trouble. The first is anything with complex tax, shipping, or compliance requirements that a quick link cannot capture cleanly — there, a full website or store checkout configured for those rules is safer.
The second is platforms or regions with strict rules about commerce in messaging. Some channels restrict or prohibit certain selling behaviors in DMs, and Stripe and your platform both have acceptable-use terms. Selling regulated goods, or sending unsolicited payment requests, can get your account limited fast. The third is high-ticket or trust-sensitive sales where a buyer reasonably expects an invoice, a contract, or a conversation with a human before paying — for those, a Stripe invoice or a scheduled call beats a one-tap link.
Used within its lane — clear products, willing buyers, reasonable amounts, compliant categories — the DM payment link converts beautifully. Pushed outside it, it creates refunds and risk. Match the tool to the sale.
- Skip it for complex tax/shipping/compliance — use a configured store checkout instead.
- Respect each platform's and Stripe's rules on commerce in messaging and unsolicited requests.
- For high-ticket or B2B, prefer a Stripe invoice or a human conversation before the link.
- Never use it for regulated or prohibited goods just because the link is easy to send.
How do you test the whole thing before going live?
Testing a payment flow is not optional, and Stripe makes it straightforward with test mode. The goal is to exercise every branch — success, abandonment, decline, and refund — with fake money before a real customer ever touches it. A flow that only ever ran on the happy path will fail you on the first declined card.
Run the test the way a customer would: enter the flow, get the link, pay with a Stripe test card, and confirm the webhook fires and your flow delivers. Then deliberately break it — use a decline test card, abandon the checkout, trigger a refund — and watch that each path does the right thing. Only when all four behave should you swap test keys for live keys.
- Switch to test mode and test keysUse Stripe's test mode so no real charges occur. Point your webhook endpoint at the test signing secret.
- Run the success pathComplete a purchase with a Stripe success test card. Confirm the webhook arrives, verifies, and your flow delivers and tags correctly.
- Run the failure pathsUse decline and authentication test cards, and abandon a checkout. Confirm no delivery happens and the reminder fires once.
- Test refund handlingIssue a test refund and confirm your flow reacts as intended — revoking access or tagging the contact if that is your policy.
- Go live deliberatelySwap to live keys and live webhook secret, run one small real purchase yourself, then open the flow to customers.
A real first purchase by you beats a thousand assumptions
Even after test mode passes, make the very first live purchase yourself with a real card and a real refund afterward. Test mode and live mode use different keys and occasionally behave differently. One genuine end-to-end live run catches the surprises before a paying customer does.
How do you keep the buyer experience feeling native?
The handoff is technical, but the buyer should never feel handed off. The craft is in making Stripe's page feel like a natural continuation of the chat, not a jarring exit. A few small choices carry most of the effect, and they cost nothing once you know them.
Brand the Stripe checkout so it shows your name and logo, set a clear product name and price so the page matches what you promised in the DM, and configure the after-payment behavior so the buyer lands somewhere that points them back to the conversation. Inside the chat, bracket the link with one warm line before and a promise of what happens after. The buyer taps, pays, and returns to a thread that already knows they paid. That continuity is what makes people buy again.
- Brand the Stripe checkout with your logo and name so the page feels like yours.
- Make the product name and price on Stripe match the DM exactly — no surprises.
- Set a sensible after-payment redirect or confirmation that nudges them back to chat.
- Wrap the link in one friendly line before and a clear promise of what comes next.
- Deliver the instant the webhook confirms, so the thread feels alive and responsive.
Native-feeling vs jarring handoff
- Jarring
- Bare URL pasted with no context; unbranded Stripe page; silence after payment
- Native
- One warm line, branded checkout matching the DM, instant in-thread delivery on webhook
How do you measure whether DM payments are working?
Once the flow is live, resist the urge to judge it by gut feel. A DM payment flow is a funnel like any other, and the only way to improve it is to watch where buyers drop. The good news is that every stage emits a signal you can track, and the gaps between stages tell you exactly what to fix.
Track four numbers in sequence: how many people reach the payment step, how many tap the link, how many complete payment on Stripe, and how many you successfully follow up with. The drop between reaching the step and tapping the link is usually a messaging problem — your context line or price framing needs work. The drop between tapping and completing is a checkout problem — often a price surprise, a missing payment method, or a slow page. Stripe's own dashboard reports completion and decline rates, so you do not have to estimate the back half.
Read the numbers honestly and change one thing at a time. If tap-to-complete is weak, brand the checkout and confirm the price matches the DM before blaming the product. If reach-to-tap is weak, rewrite the moment you ask for money. Small, isolated changes let you learn what actually moved the needle instead of guessing after a redesign.
| Funnel stage | What a weak number suggests | First fix to try |
|---|---|---|
| Reached payment step | Qualification is leaking buyers earlier | Tighten the qualify and confirm steps |
| Tapped the link | Ask-for-money moment is unconvincing | Rewrite the context line and price framing |
| Completed on Stripe | Checkout friction or price surprise | Brand the page; match price to the DM exactly |
Change one variable per test
If you rewrite the message, rebrand the checkout, and add an upsell all at once, you will never know which one helped. Move one lever, watch the relevant stage for a week, then move the next. Slow is fast when you are learning what your buyers respond to.
The bottom line on Stripe DM payment integration: it is a handoff, and that is its strength. Your DM flow runs the conversation and sends a Stripe payment link or checkout at the high-intent moment; Stripe takes the payment securely on its own PCI-compliant pages; and a verified webhook tells your flow the moment money clears so it can deliver and follow up automatically. The chat tool never touches the card, which is exactly how it should be.
Build it in this order — link, placement, webhook confirmation, follow-up, and failure handling — test every branch in Stripe's test mode, and make the first live purchase yourself. If you want the automated confirmation loop without stitching servers together by hand, KlyoChat's flows handle the conversation and its Business-plan webhooks handle the Stripe events. Just remember the honest limits: KlyoChat sends links and reacts to events, it does not process payments, and webhooks live on the Business plan. For everything about Stripe's own setup, fees, and security, build against Stripe's official documentation rather than any summary, including this one.